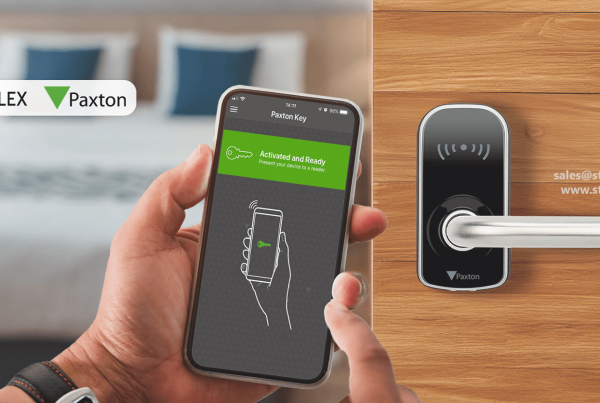
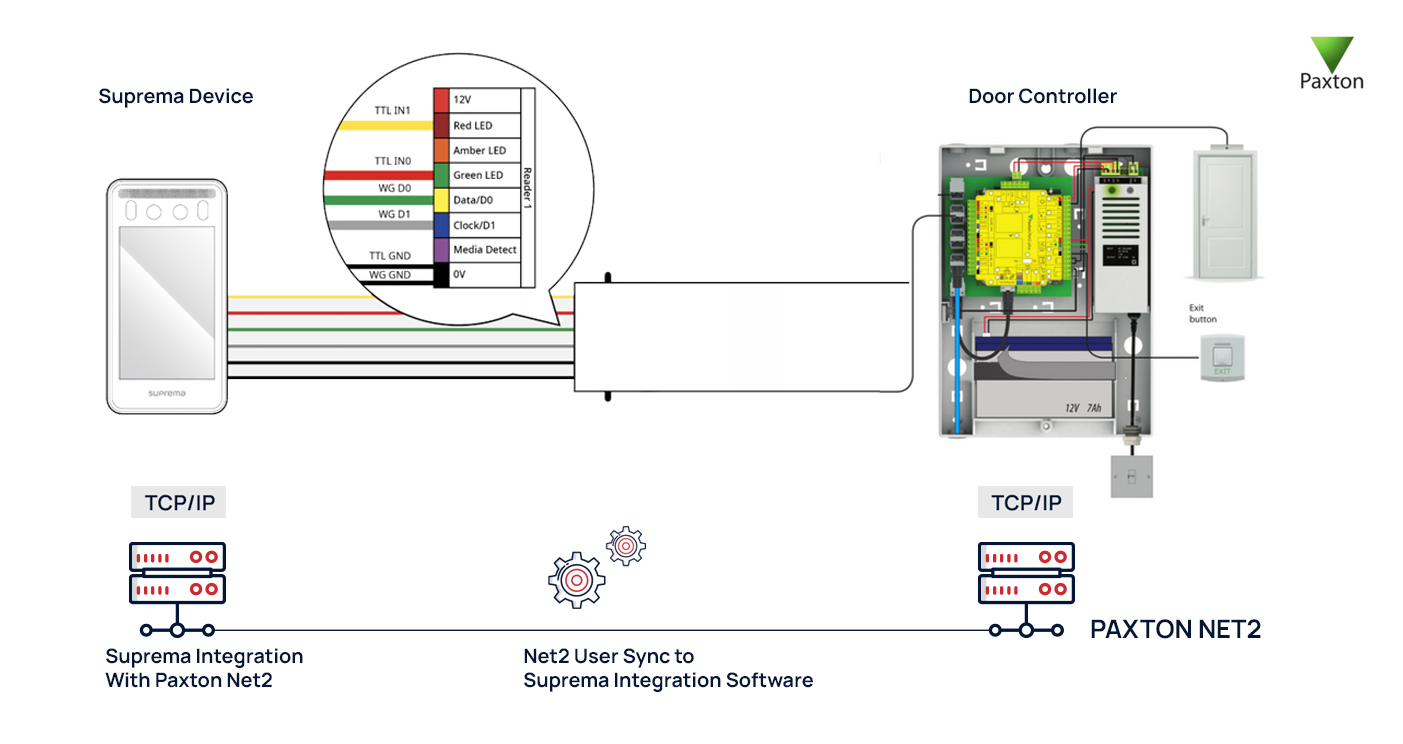
Level up the capabilities of your Paxton access control system by adding Suprema devices. The integration process is easy, convenient, and doesn’t demand installing an additional access control system separately for Suprema devices.
With the help of the Suprema integration program, you can easily connect and manage different Suprema biometric devices with the renowned Paxton Net2 access control system. Keep reading this article to learn more about the integration process.
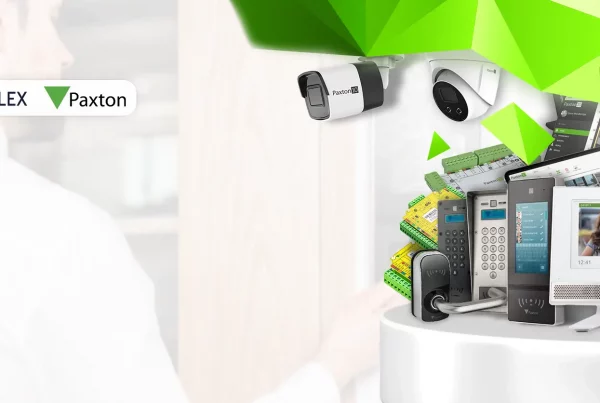
Key Benefits of Suprema Integration with Paxton Net 2

Add World-Class Biometric Devices
Suprema is a pioneer in building redefining biometric devices in the world. With the help of this integration, you can exceed your access control system beyond RFID and smart credentials.
Do Enterprise Level Configuration
With the help of this integration, you can add and manage up to 1000 Suprema biometric devices to the Paxton Net2 access control system.
Easy to Enroll and Manage New Users
Enrol users directly from Suprema devices to Paxton Net2 software without any complex or technical problems.
Requirements Before Proceeding with the Integration
Following is a list of hardware and software solutions you will need to successfully implement this integration.
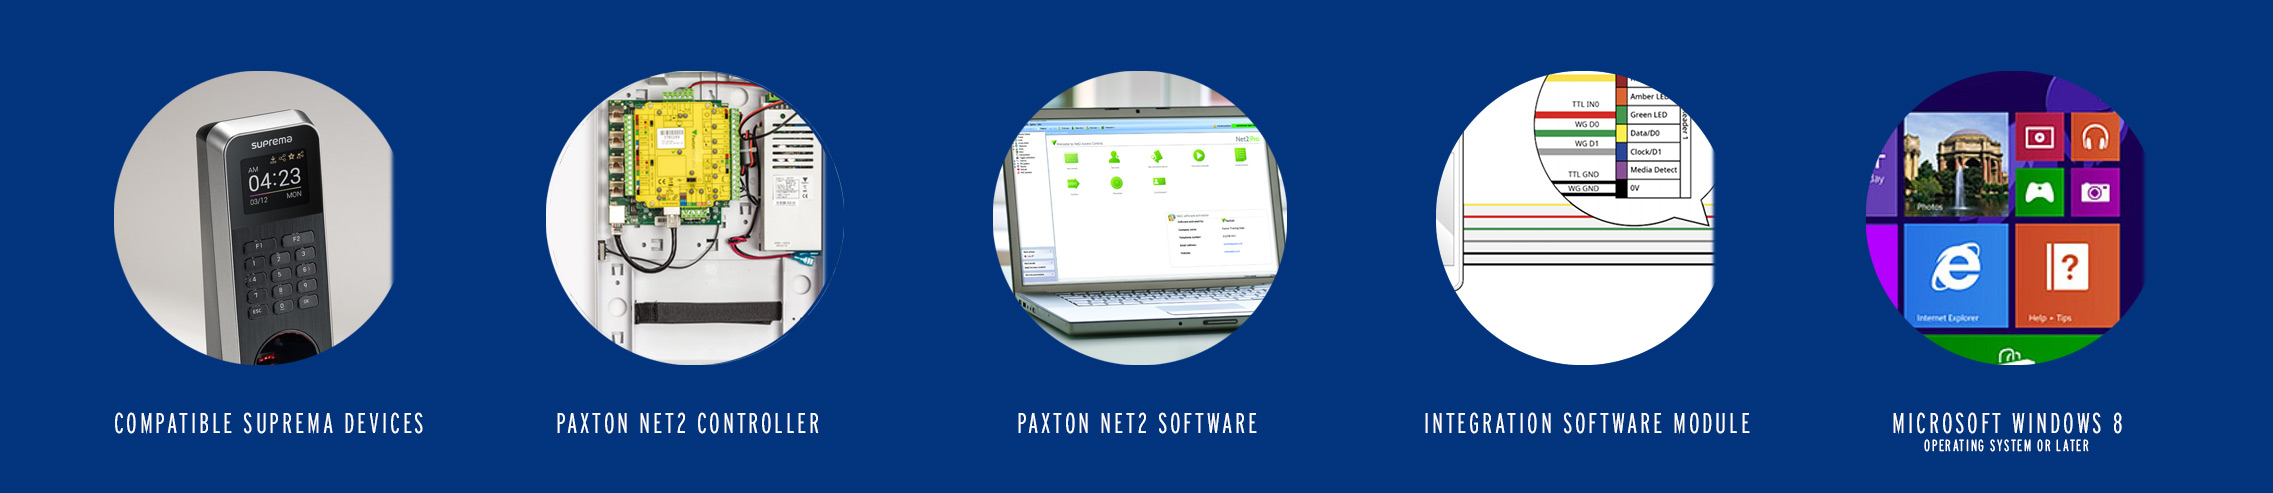
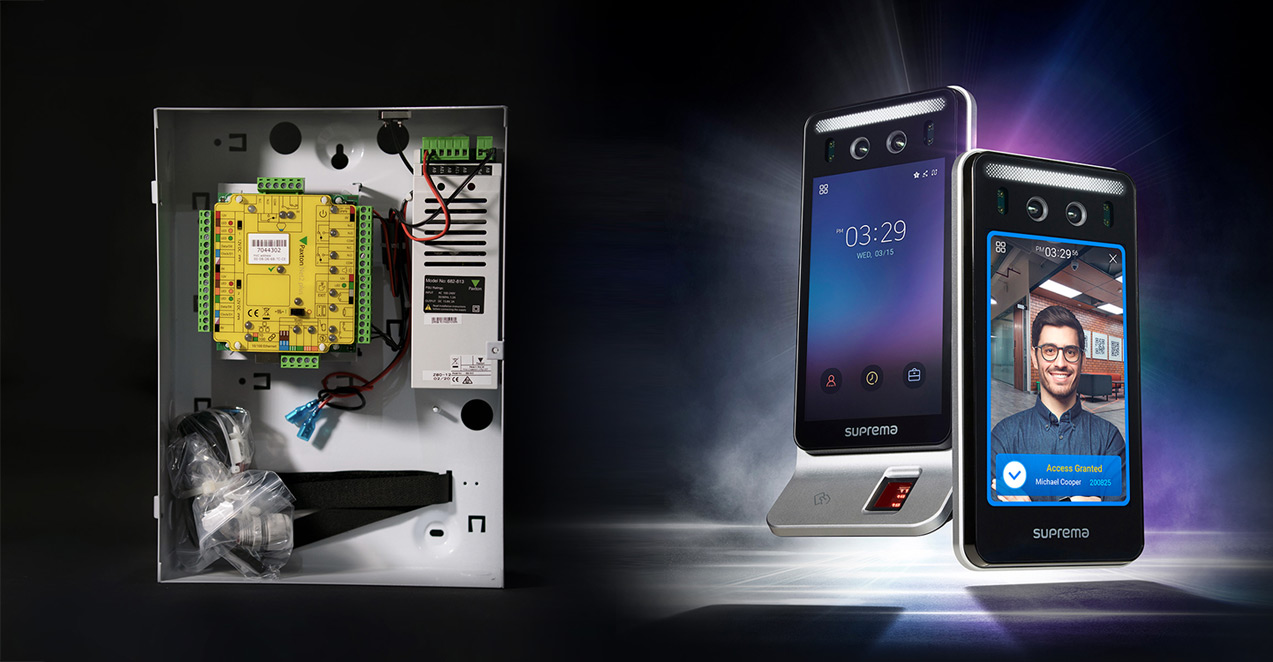
- Compatible Suprema devices – FaceStation 2, FaceLite, BioStation A2, BioStation 2, BioMini Plus 2, BioStation L2, BioLite N2, BioEntry W2 and BioEntry P2
- Paxton Net2 Controller
- Paxton Net2 Software
- Suprema Integration with Paxton Net2 software module
- Microsoft Windows 8 Operating System or Later
How to Integrate Suprema Devices with Paxton Net2 Software? – Step by Step Installation Process
Follow the steps given below to successfully install the Suprema integration program and use it with the Paxton access control system. Before proceeding, make sure you have the latest version of Paxton Net2 Software installed on your computer and activate the OEM client on Paxton Net2 software. If you haven’t please follow the brief tutorial given below.
Activating OEM Client on Paxton Net2
Activating Paxton Net2 OEM client is compulsory to use Suprema devices with your Paxton access control system.
- Step 1: Run the Net2 Access Control application.
- Step 2: Click on Net2 operators and select OEM client by double-clicking on it.
- Step 3: Fill in the password in the Password field and reenter it in the Confirm password field.
- Step 4: Click on Finish and your OEM client is now successfully set up.
Installing and Setting Up Suprema Paxton Integration Software
- Step 1: Download Suprema Paxton integration software from here.
- Step 2: After downloading the software, locate it in your computer directory by finding the icon named Setup.for.suprema.integration.with.paxton.net2.x64.x.xxxx’.
- Step 3: Right-click on the Suprema Paxton integration software and click on Open. This will execute the installation program.
- Step 4: In the next window, select a path in your computer hard drive where you would like to install the software and proceed by clicking on the Next button.
- Step 5: Select full installation from components to install the drop-down table. Do not choose server-only installation and client-only installation. And then click on Next.
- Step 6: In the next window, enter the OEM client password in the Password and Confirm password field and click on Next.
- Step 7: Now enter your Suprema device ID in the ID field and Pincode in the PIN field and click on Next. Remember to note down the Suprema ID and PIN because you will be using them to access devices and Suprema Integration software.
- Step 8: Enter the server IP (the internet protocol address of your computer network, for example, 192.168.2.100) and 4-digit port number and click on the Next button.
- Step 9: Click Next and check all the additional programs you would like to install.
- Step 10: Click on Finish and the Suprema Integration software has been successfully installed on your computer and ready to use.
Conclusion
Summing up by following the above-detailed steps, you can easily install the Suprema integration software on your computer and start using Suprema devices with your Paxton Net2 access control system.
After setting up the program, you can execute the Suprema Integration program to view different cards, fingerprints, faces, users, and devices and activate them by entering the IP address of the device.
Do you need help with your Access Control or Biometrics projects?
Let experts at Stebilex help you today.