Virdi is a renowned brand in the access control world, recognized for building redefining biometric access control devices right from fingerprint recognition to fingerprint readers. All its devices are convenient to use and integrate with popular access control systems including the most remarkable Paxton Net2.
In this brief guide, we will explain briefly the detailed process of integrating Virdi devices in the Paxton Net2 access control system. Keep on reading to learn more.
Requirements for Virdi Integration with Paxton Net2 Access Control System
Below is a list of compatible hardware and software solutions you will need to successfully execute the integration.
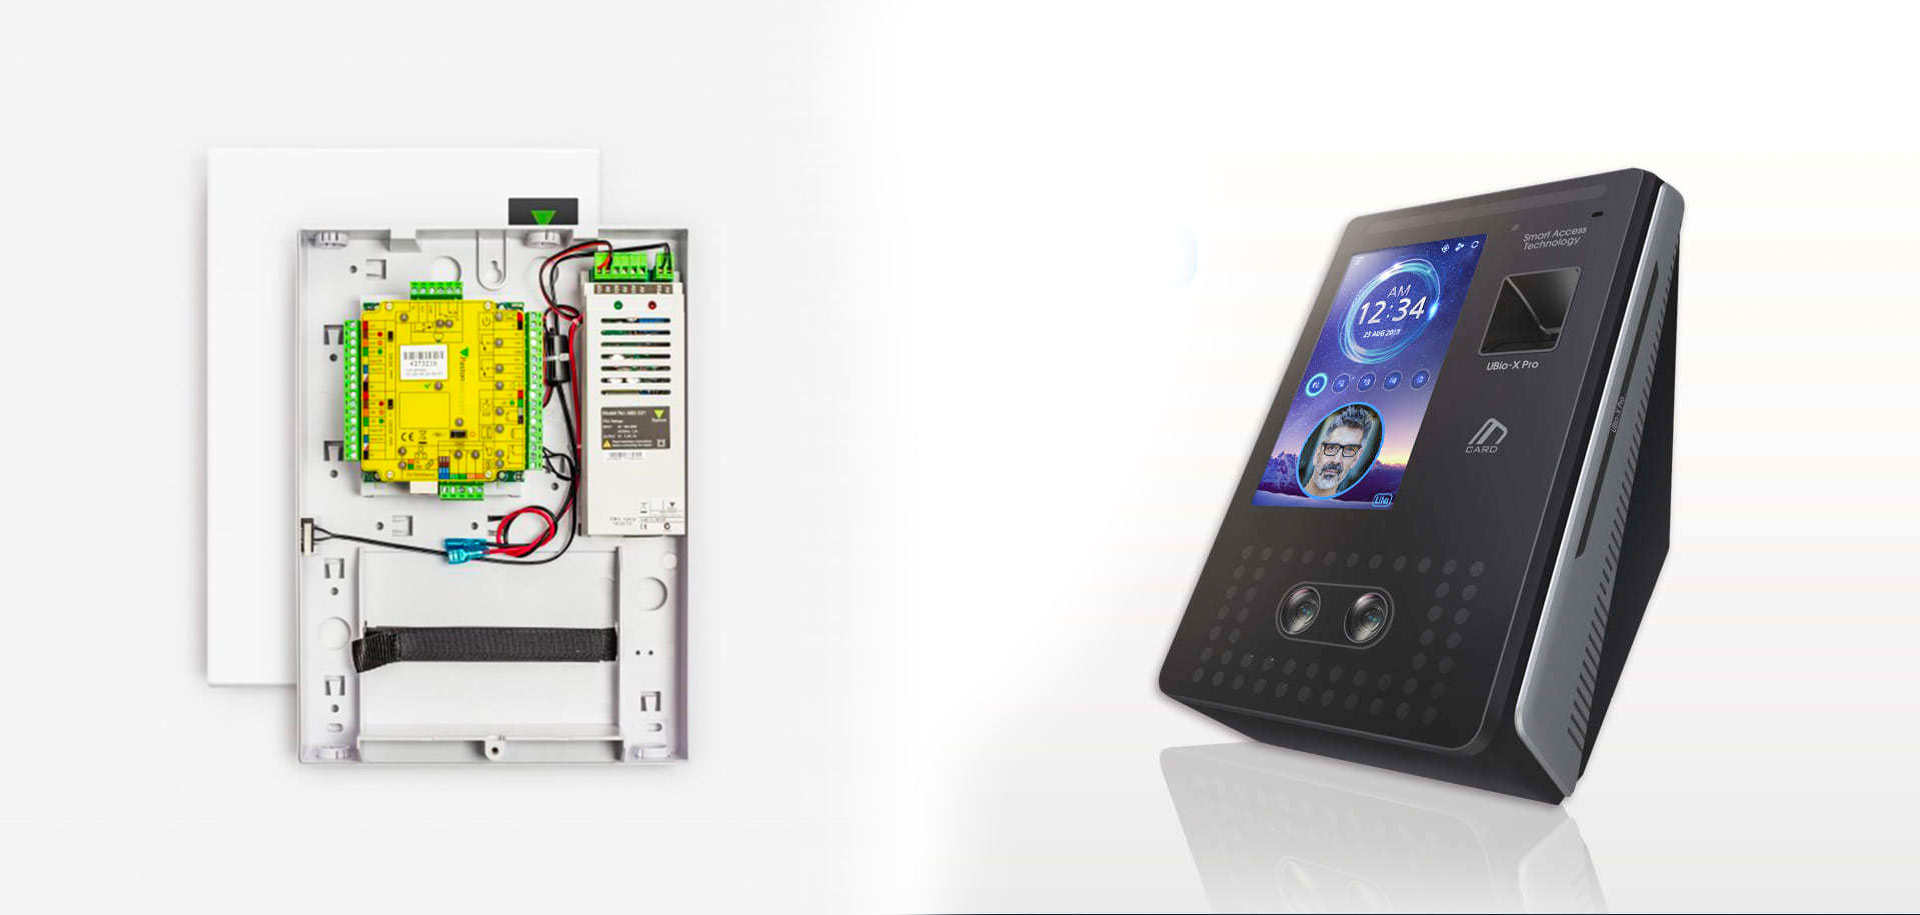
- Compatible Virdi devices: UBio-Series & AC-Series biometric and card terminal devices
- Operating System: Windows 8 or Later
- Paxton Net2 Software
- UNIS4 4.2.7.18 or later
- QEManager 1.3.1.3 or later
If you don’t have UNIS4 and QEManager on your computer, please download both the softwares from here.
Process Overview
The integration process of Virdi devices with the Paxton Net2 access control system is simple. You have to install Paxton Net2 Software, Virdi Quick Enrolment Manager, and UNIS software and configure them to add devices to your access control system.
The Virdi Quick Enrolment Manager is a middleware or simply software integration module that connects Virdi biometric and faces recognition terminals with the Paxton Net2 access control system. And UNIS is a service software responsible for terminal and template management.
Virdi Integration with Paxton Net2 Access Control System – Step by Step Process
1. Configure Door Controller for Wiegand Use with Paxton Net2 Software
- Step 1 – Download and install Paxton Net2 software on your computer and set up a login ID. Ignore this step, if you already have Paxton Net2 software on your computer.

- Step 2 – Open the Paxton Net2 application and click on the “Doors” option.
- Step 3 – Select the door on which you want to install the Virdi devices.
- Step 4 – In the new window, select Wiegand reader as reader type, Wiegand 26 bit as token data format, and token only as Reader operating mode.
- Step 5 – The process is done, now you have successfully configured the door controller compatible with Wiegand readers. This process is done because Virdi devices are based on the Wiegand interface.
2. Install, Set Up, and Configure UNIS4 Software
- Step 1 – Download UNIS4 (link shared above) and install it on your computer.
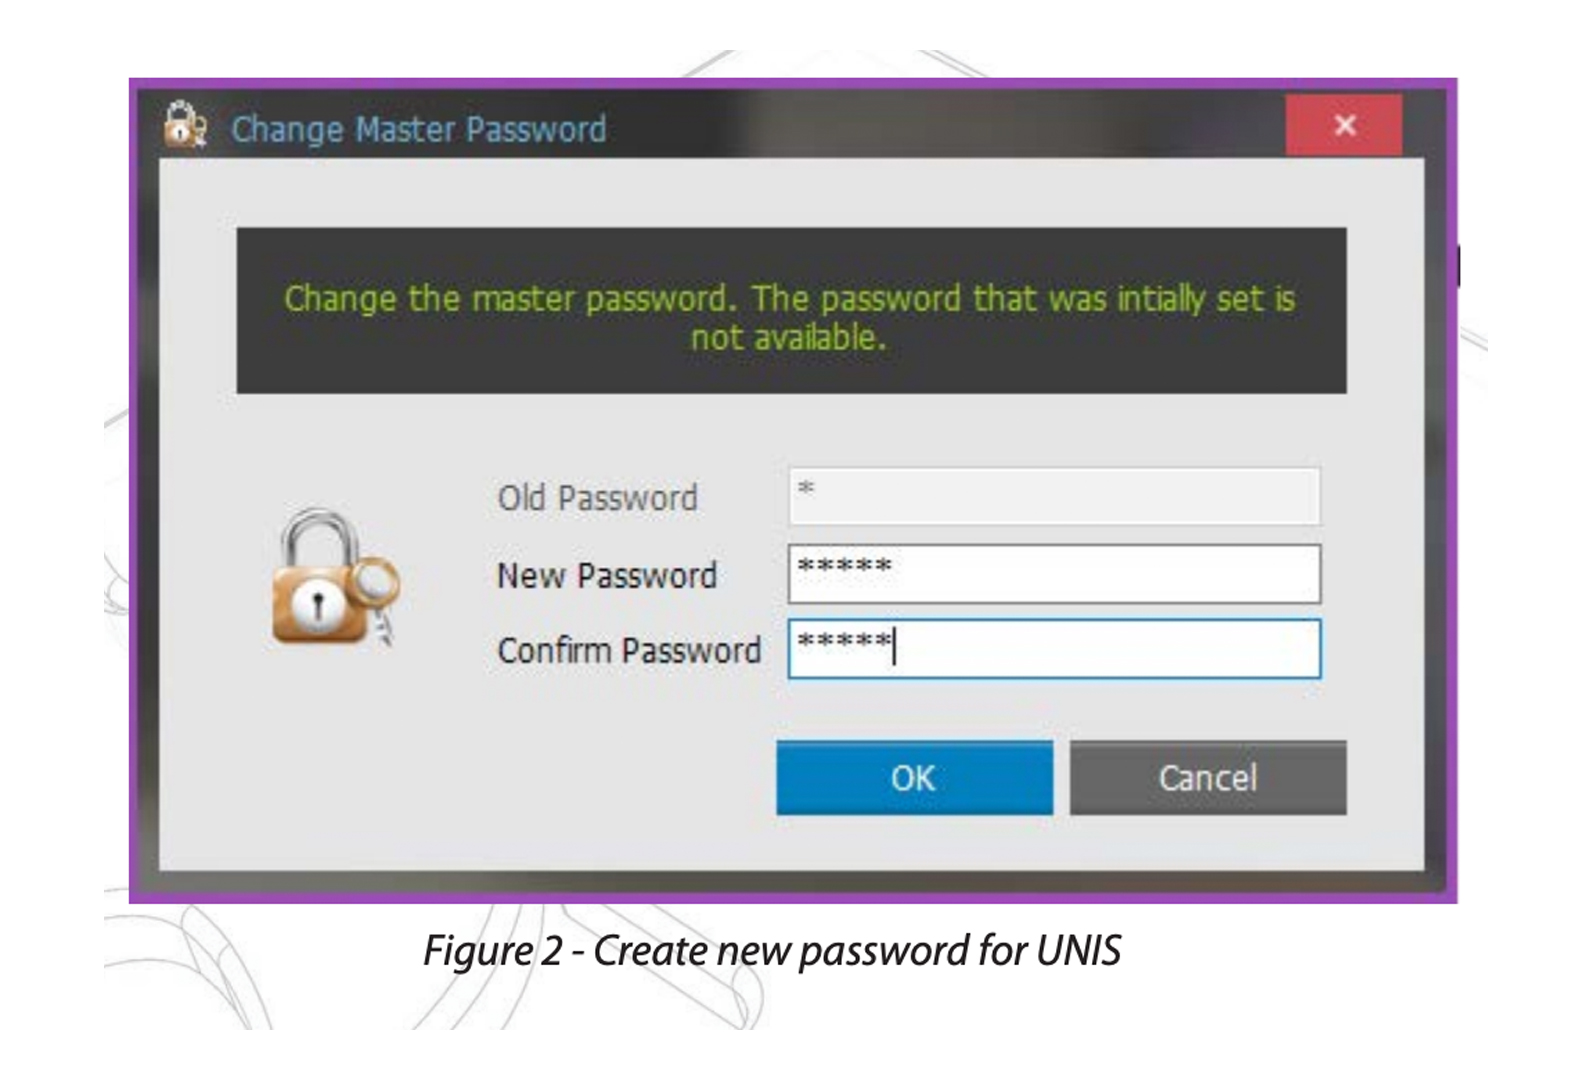
- Step 2 – Open the UNIS4 application and set a password and Master login ID.
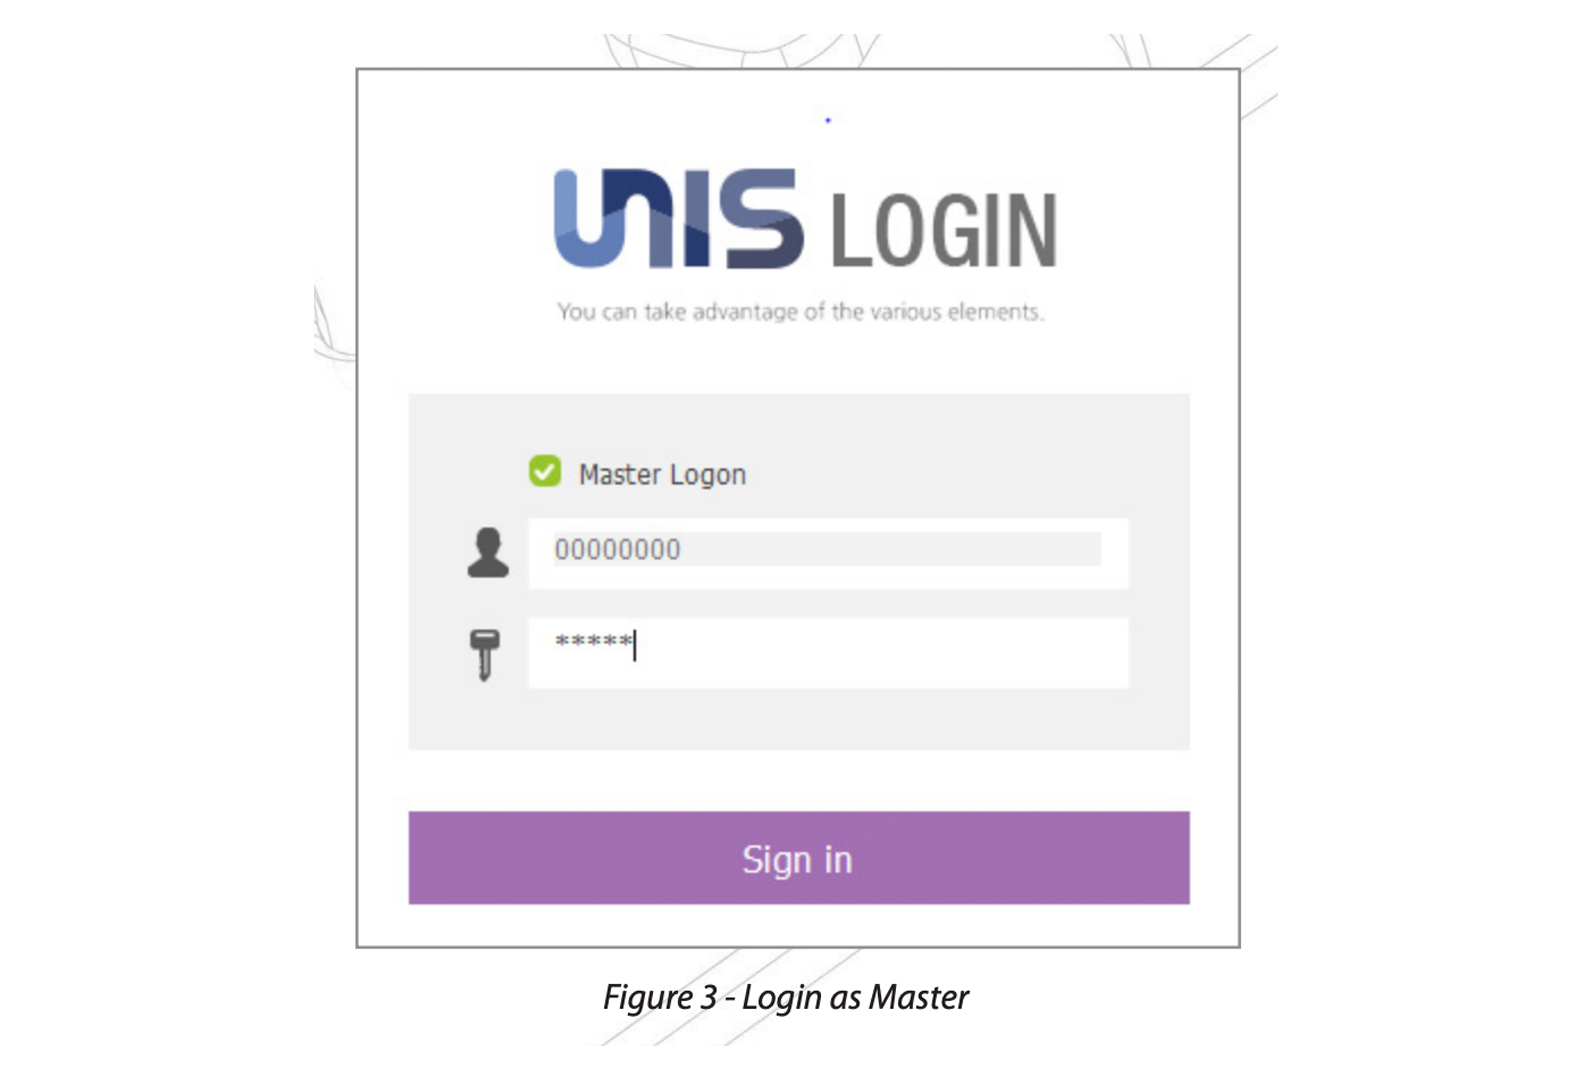
- Step 3 – Login to the UNIS4 application by entering the Master login ID and password.

- Step 4 – Now go to the Main Menu (available on the right side of the screen) and select “Wiegand Format Setting” from the list.
- Step 5 – In the new window, go to the Input Info section and create a 26-bit Wiegand format by entering 0001 in the Code field and 26 bit Wiegand in the Name field.
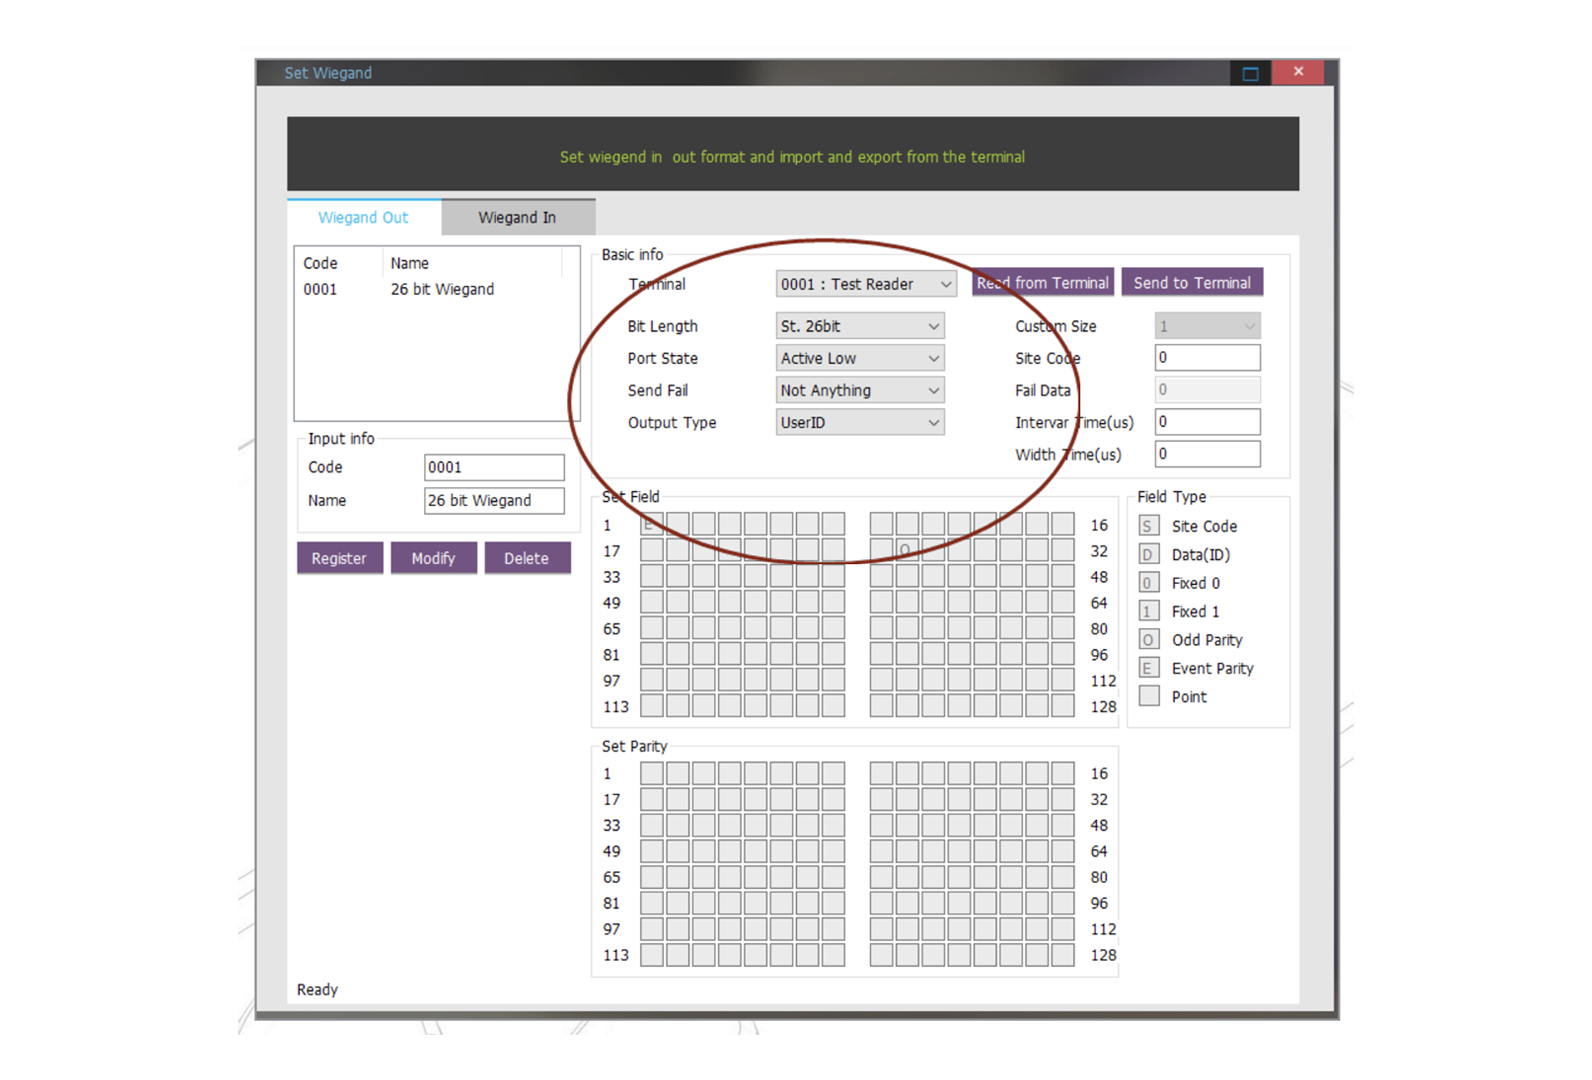
- Step 6 – In the same window, select Terminal – 0001:Test Reader, Bit Length – St. 26 bit), Port State – Active Low, Send Fail – Not Anything, and Output Type – UserID. This is done to send the Wiegand settings to the Virid devices.
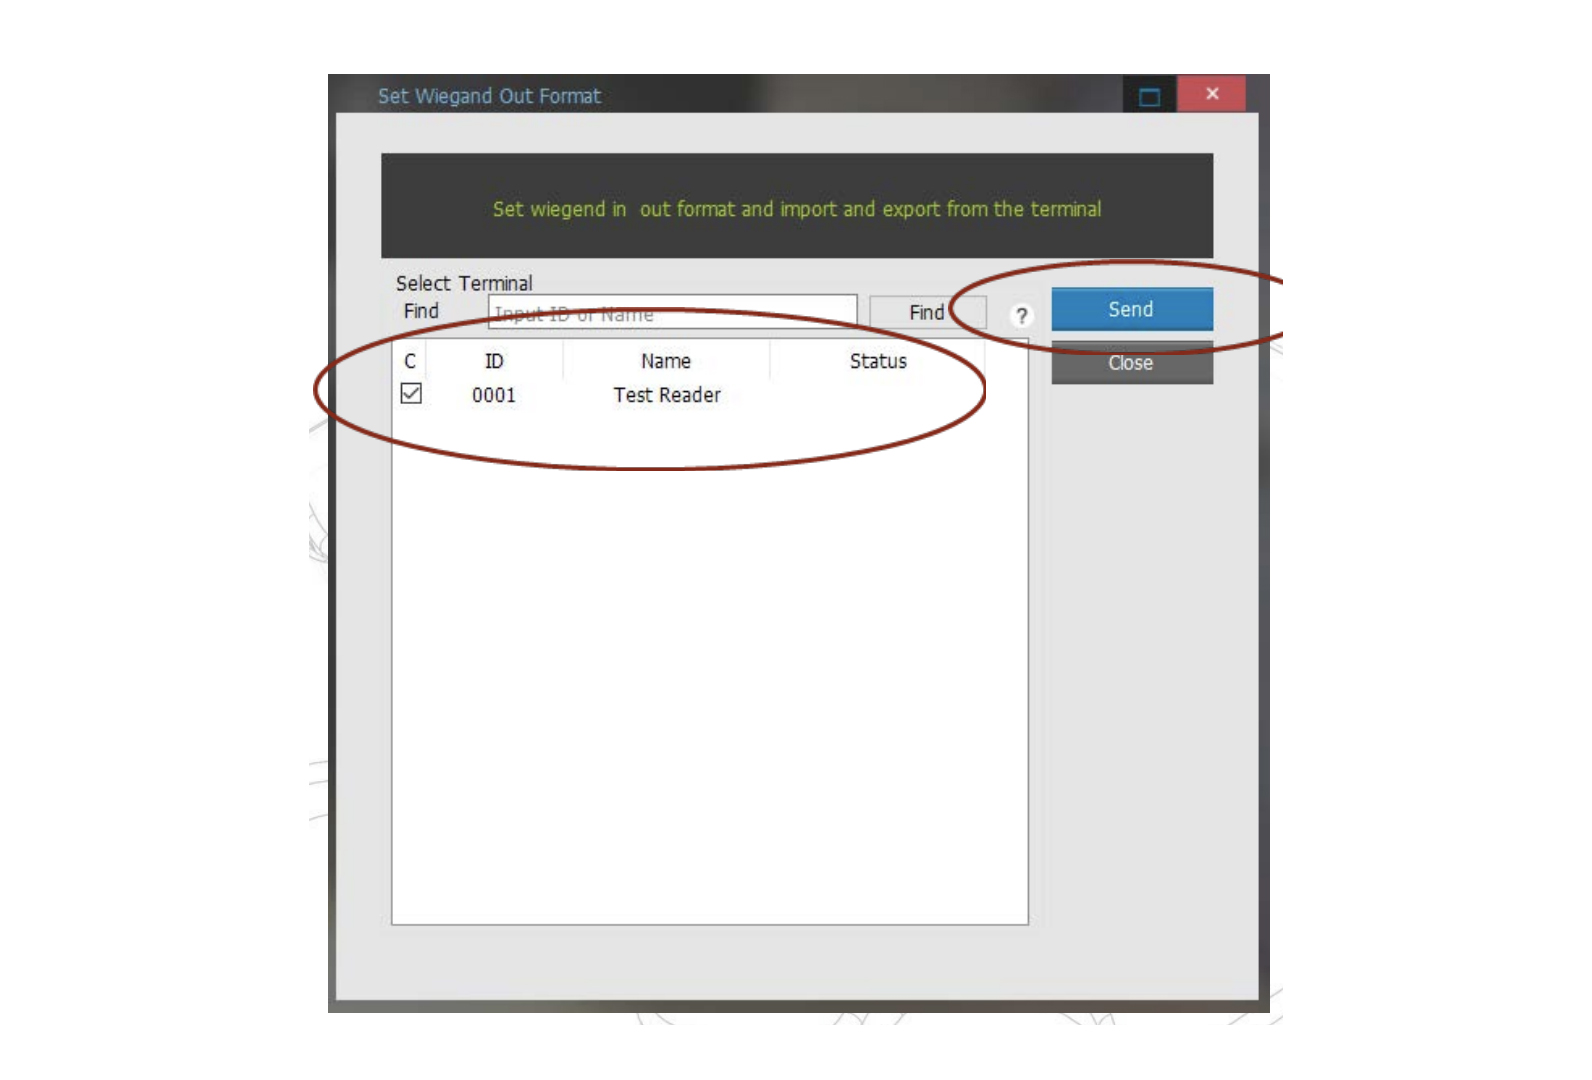
- Step 7 – Next click ok, tick mark the test reader and click on the Send button.
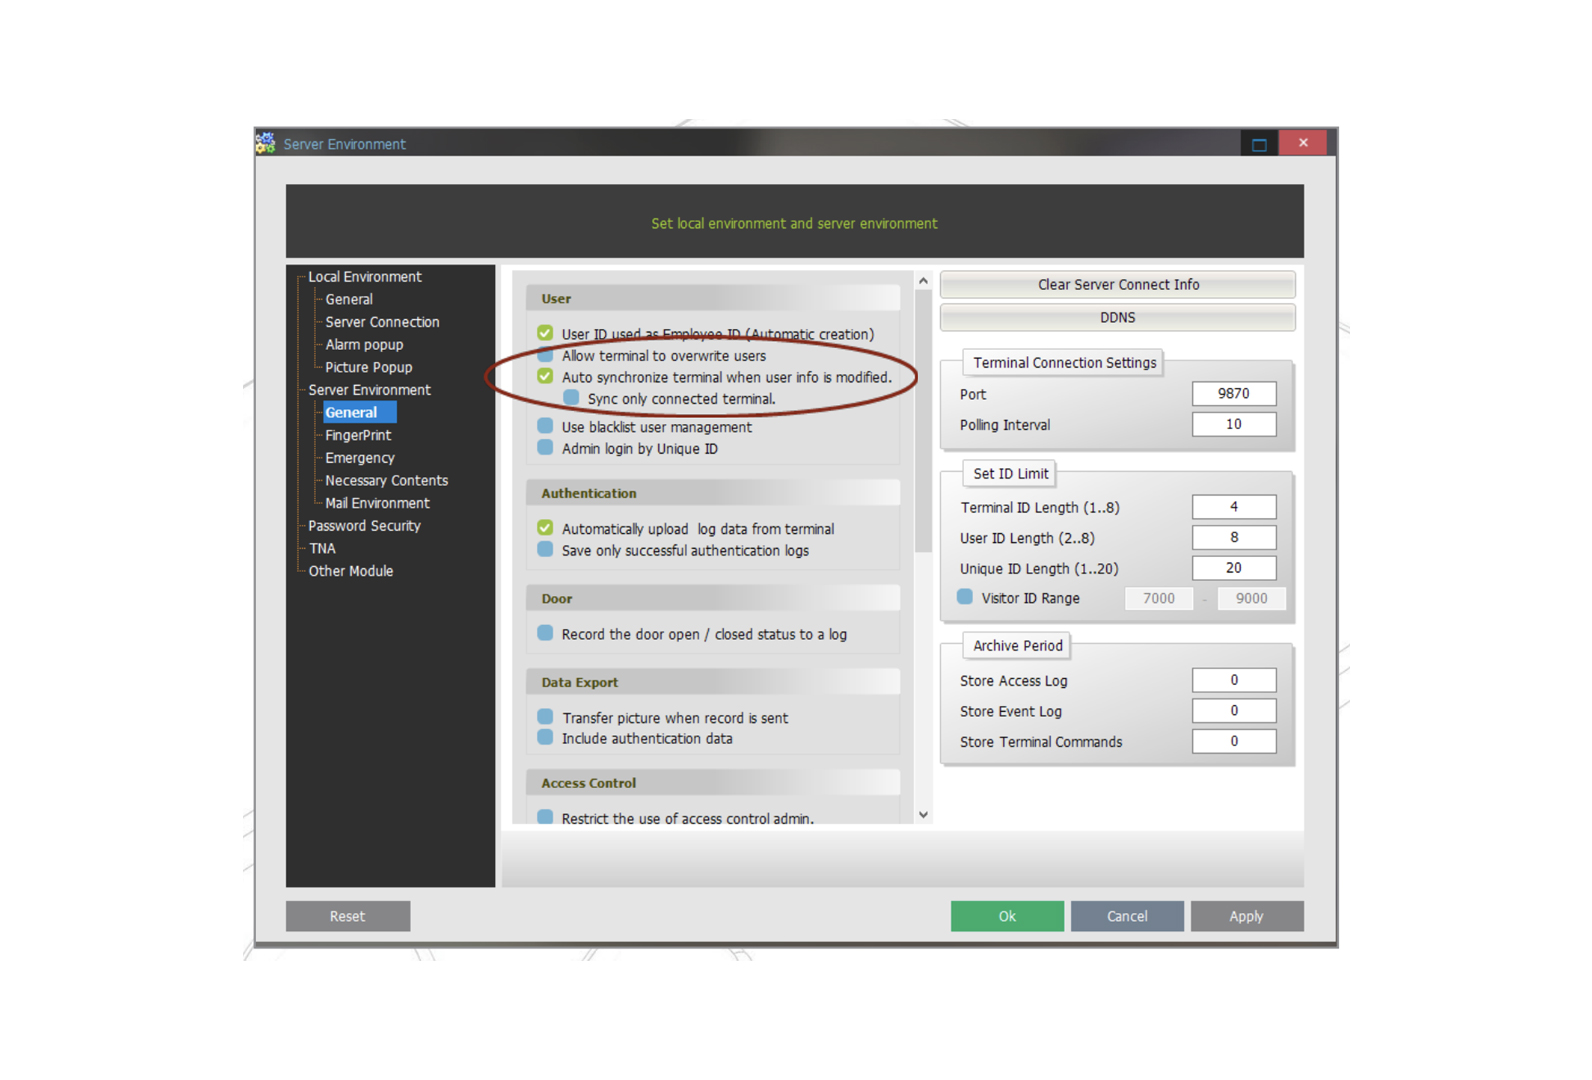
- Step 8 – To avoid doing the above steps again and again when user info is updated, you can set up real-time synchronizing of users. To do this, go to Server Environment > General > Users, check the Auto synchronize terminal when user info is modified box, and click on Apply button.
- Step 9 – You have successfully configured the UNIS4 software according to the requirements of the Wiegand reader.
3. Installing and Setting Up QEManager
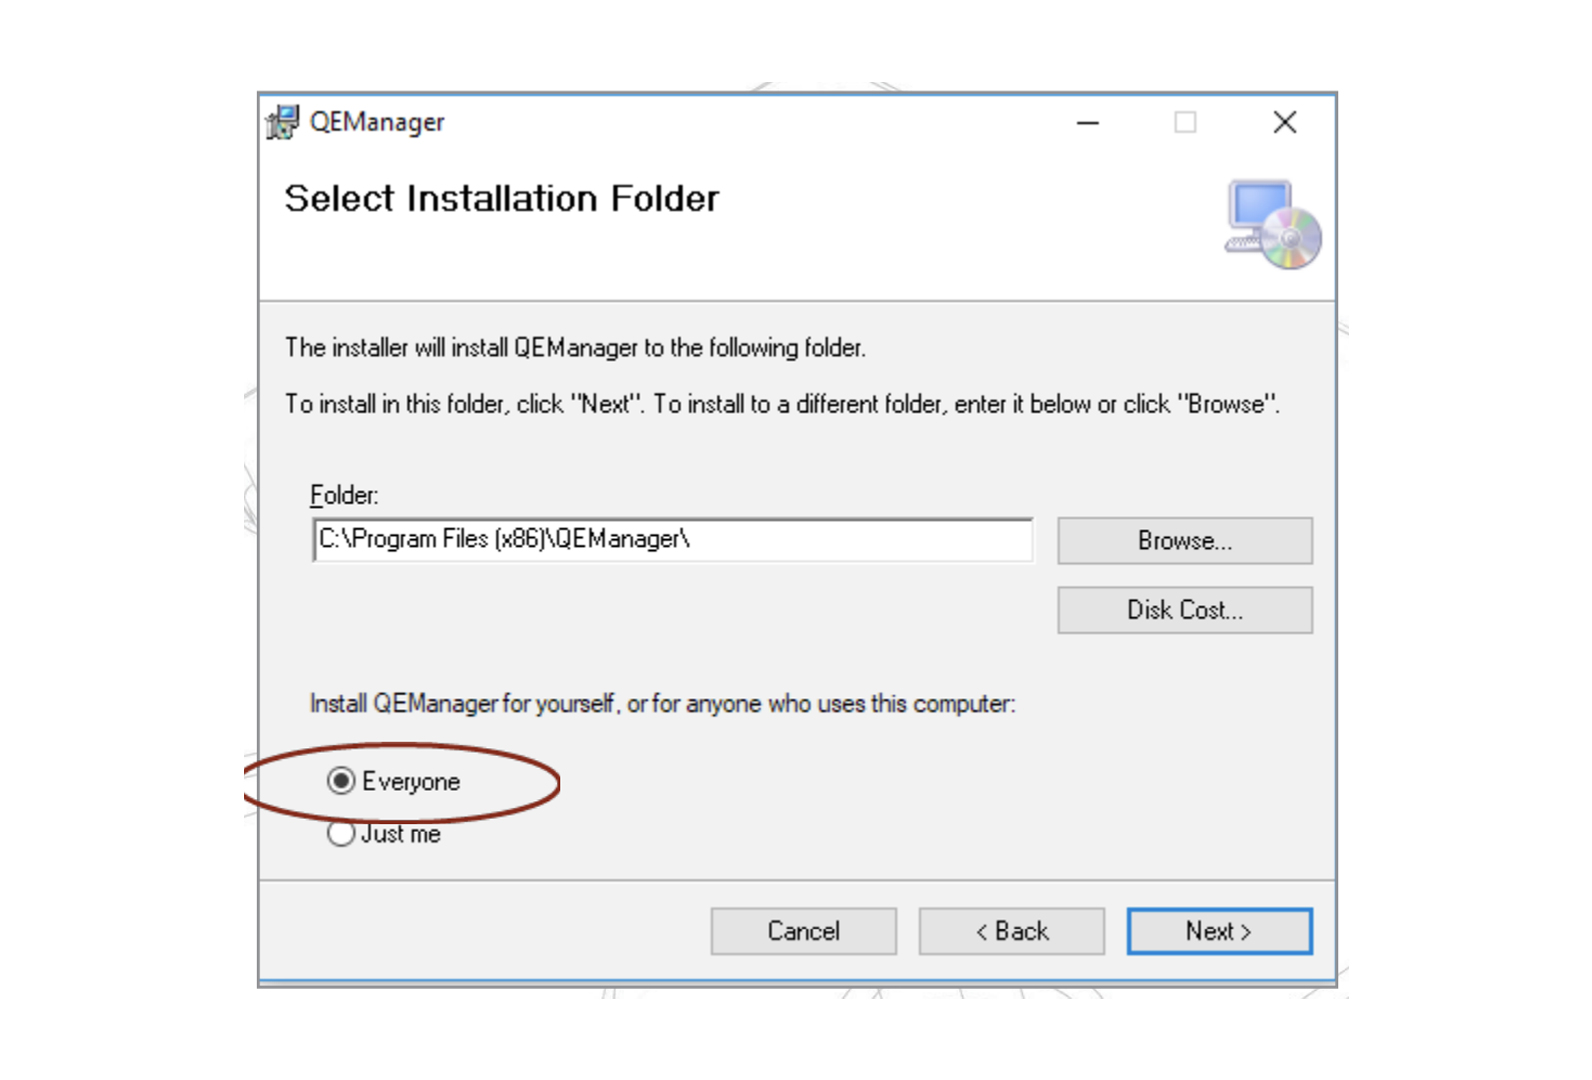
- Step 1 – Download and install the QEManager. Make sure to choose “Everyone” during the installation process.
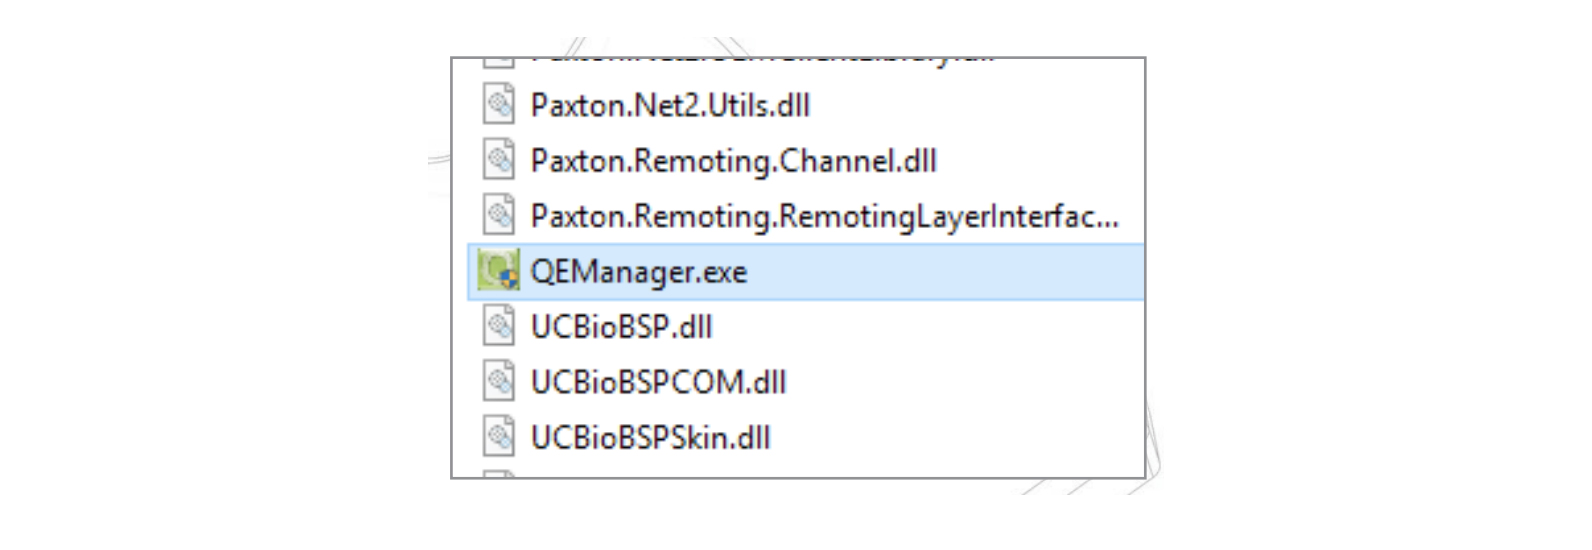
- Step 2 – Go to C:\Program Files (x86)\QEManager and open the QEManager.exe application
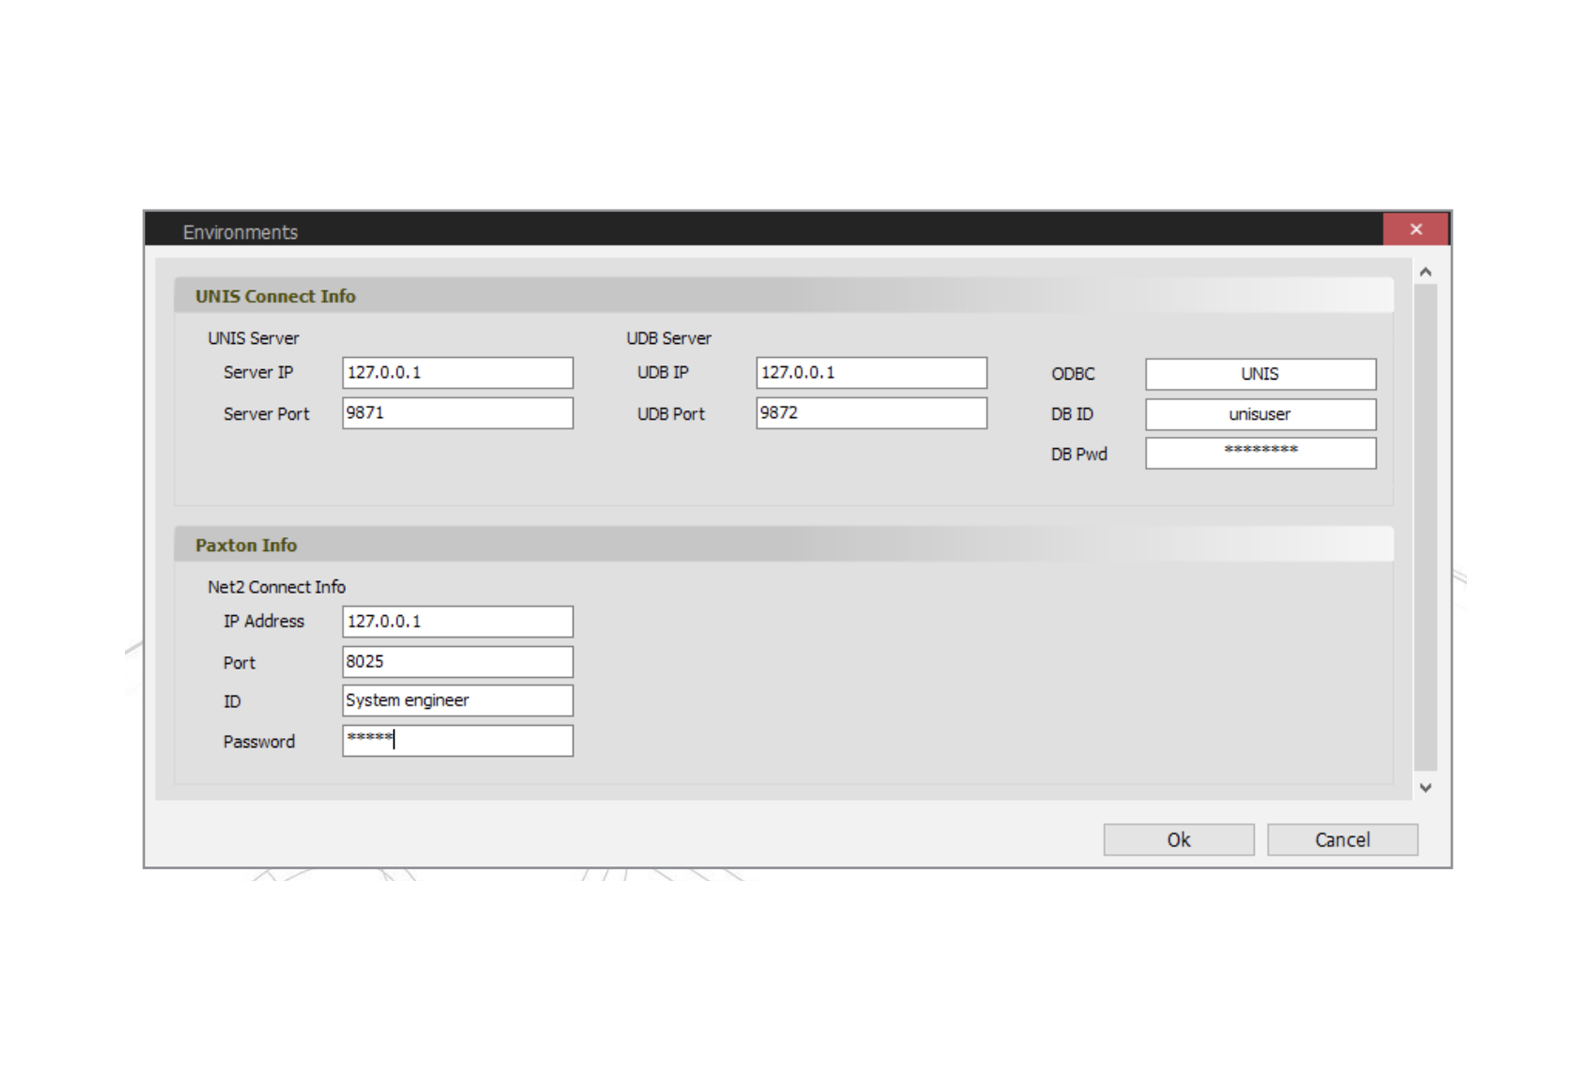
- Step 3 – A new window named Environments will open. In this window, enter your Net2 password in the Net2 Connect Info and click Ok.
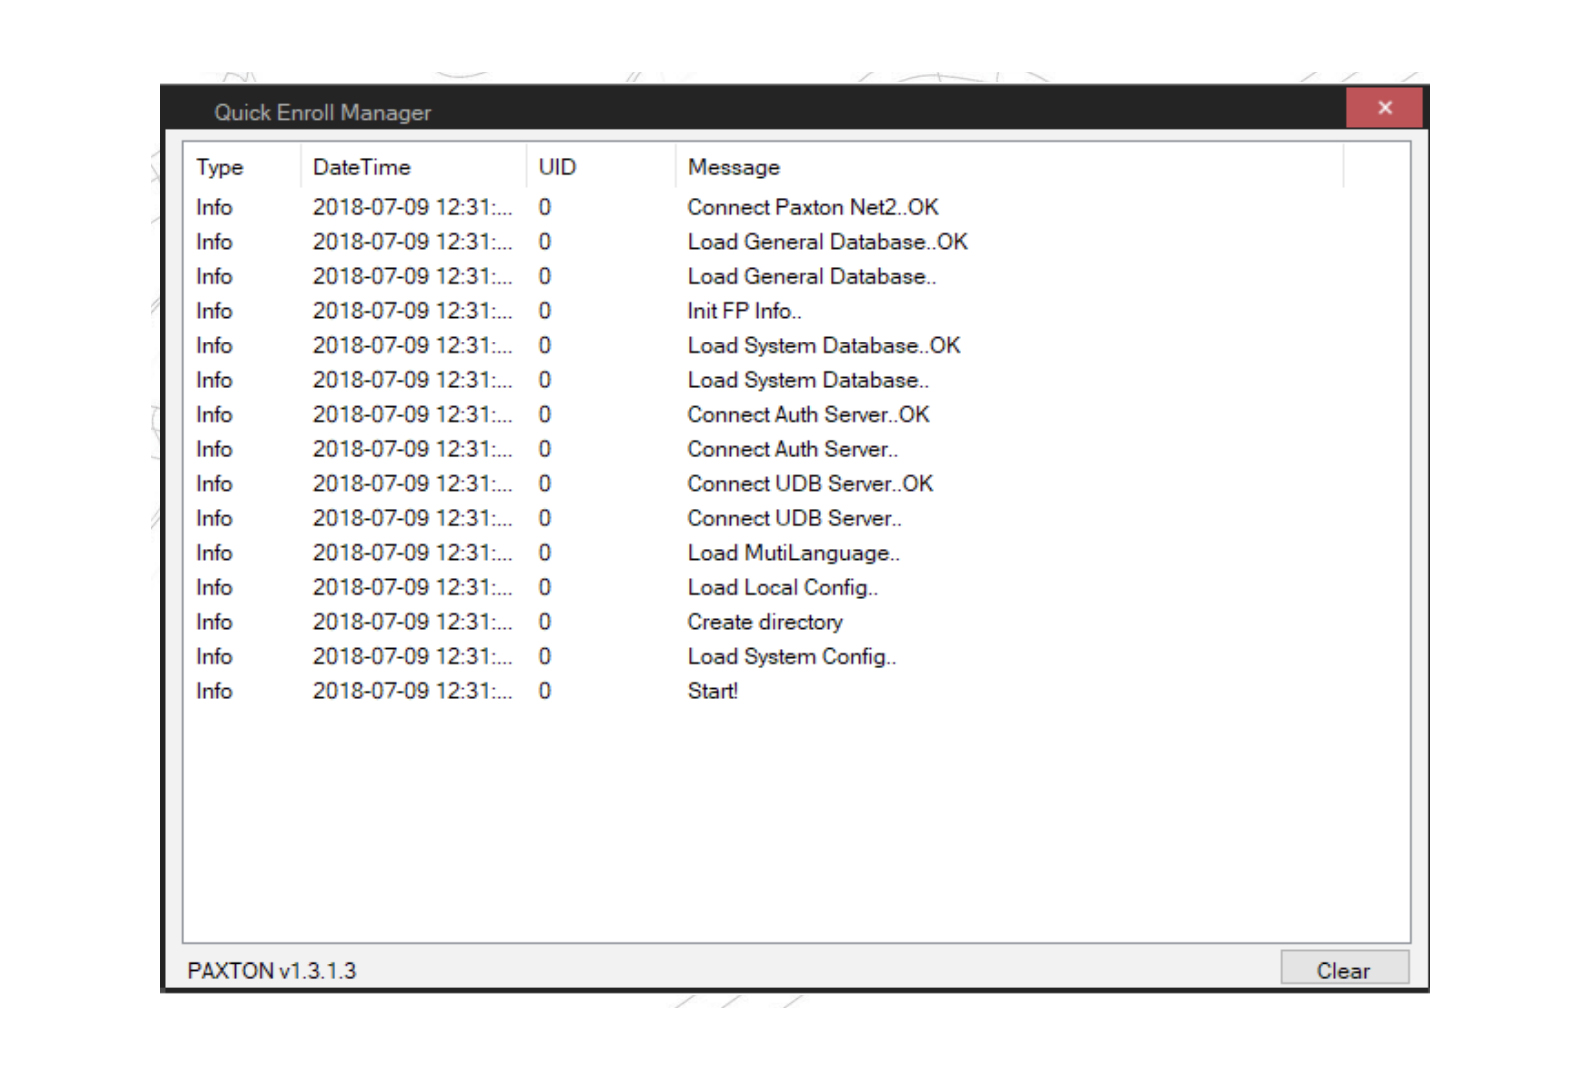
- Step 4 – Check if the connection is successful by double-clicking on the QEManager icon in the taskbar.
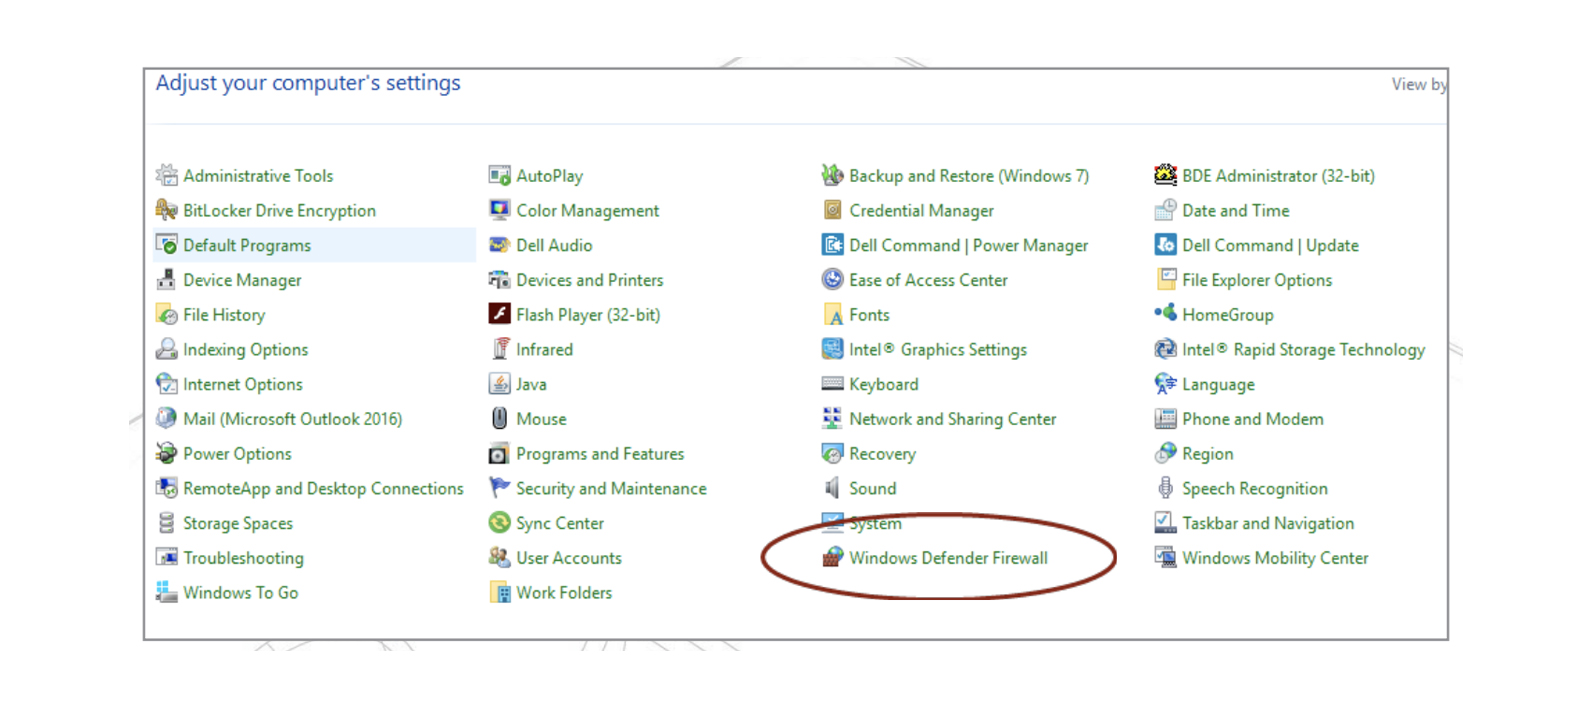
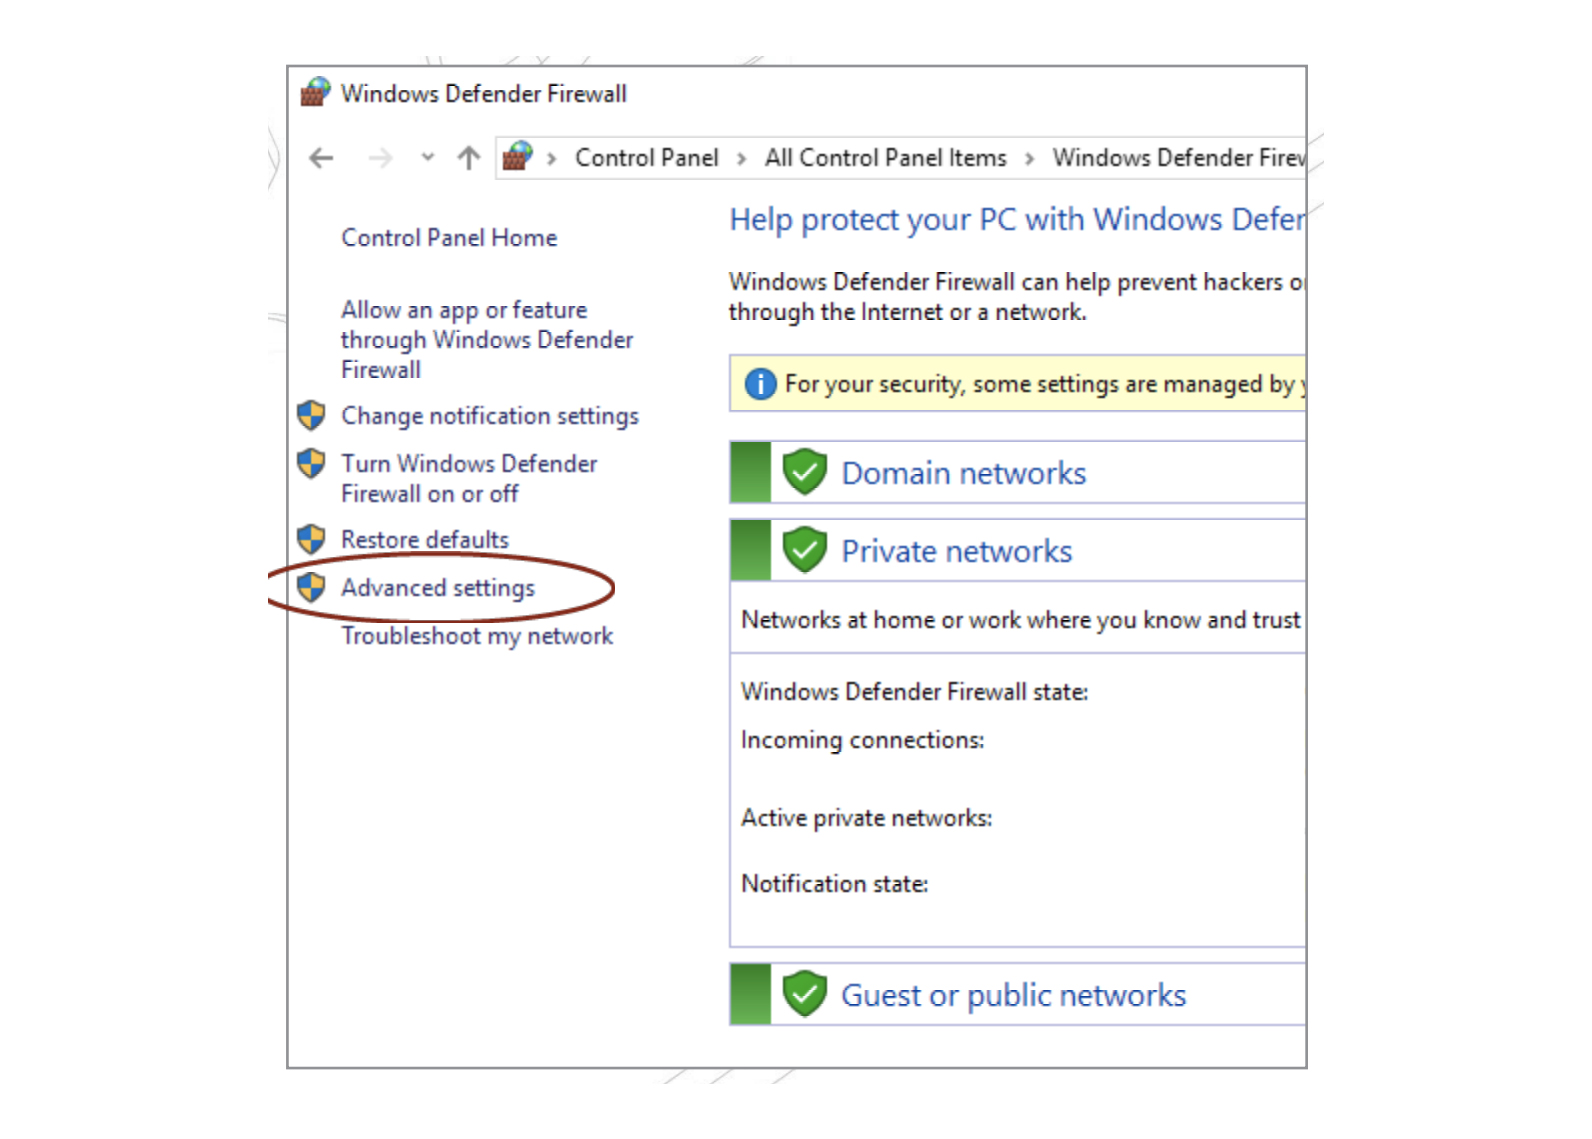
- Step 5 – Next step is to open ports (9870, 9871, 9872, 9873, 9874, and 9875) in the firewall settings to ensure the successful operation of the devices. To do this, go to Control Panel and select Windows Defender Firewall.
- Step 6 – In the Windows Defender Firewall window and go to Advanced settings.
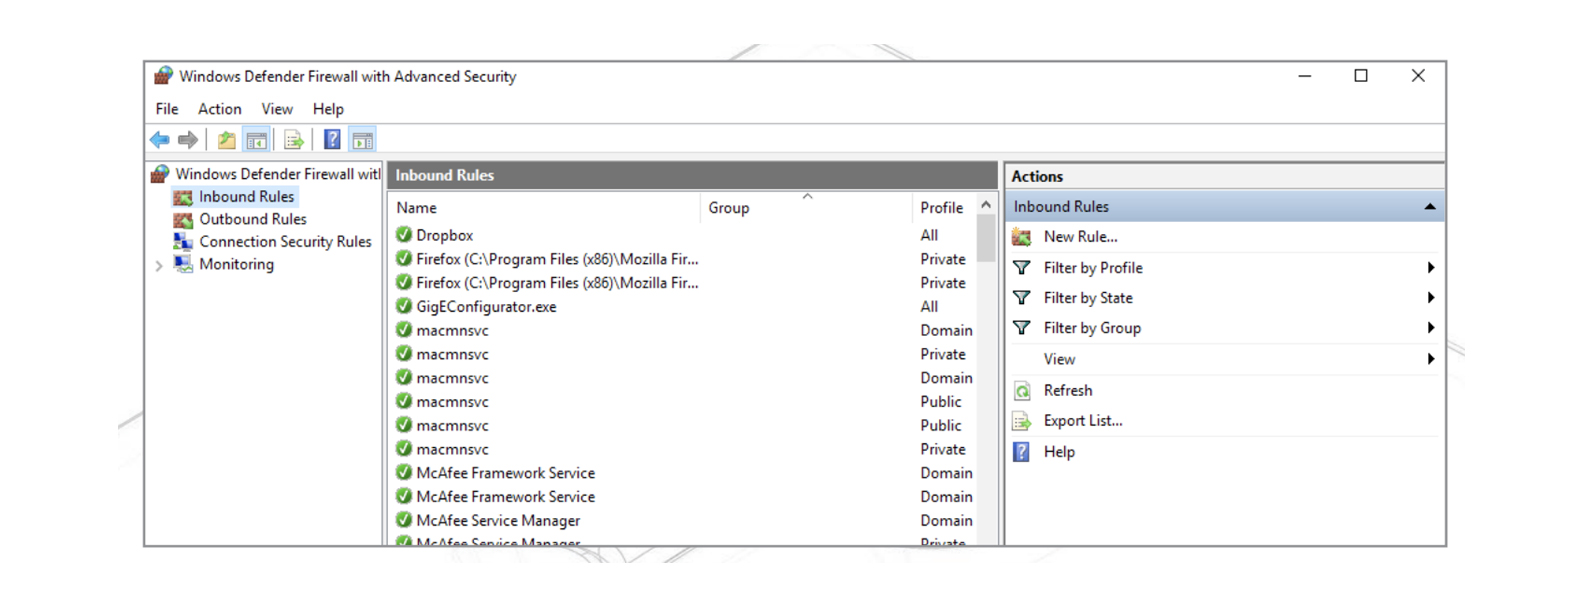
- Step 7 – Create inbound and outbound rules for UNIS in the Windows Defender Window.
- Step 8 – To create an inbound rule, click on Inbound Rules and select New Rule.
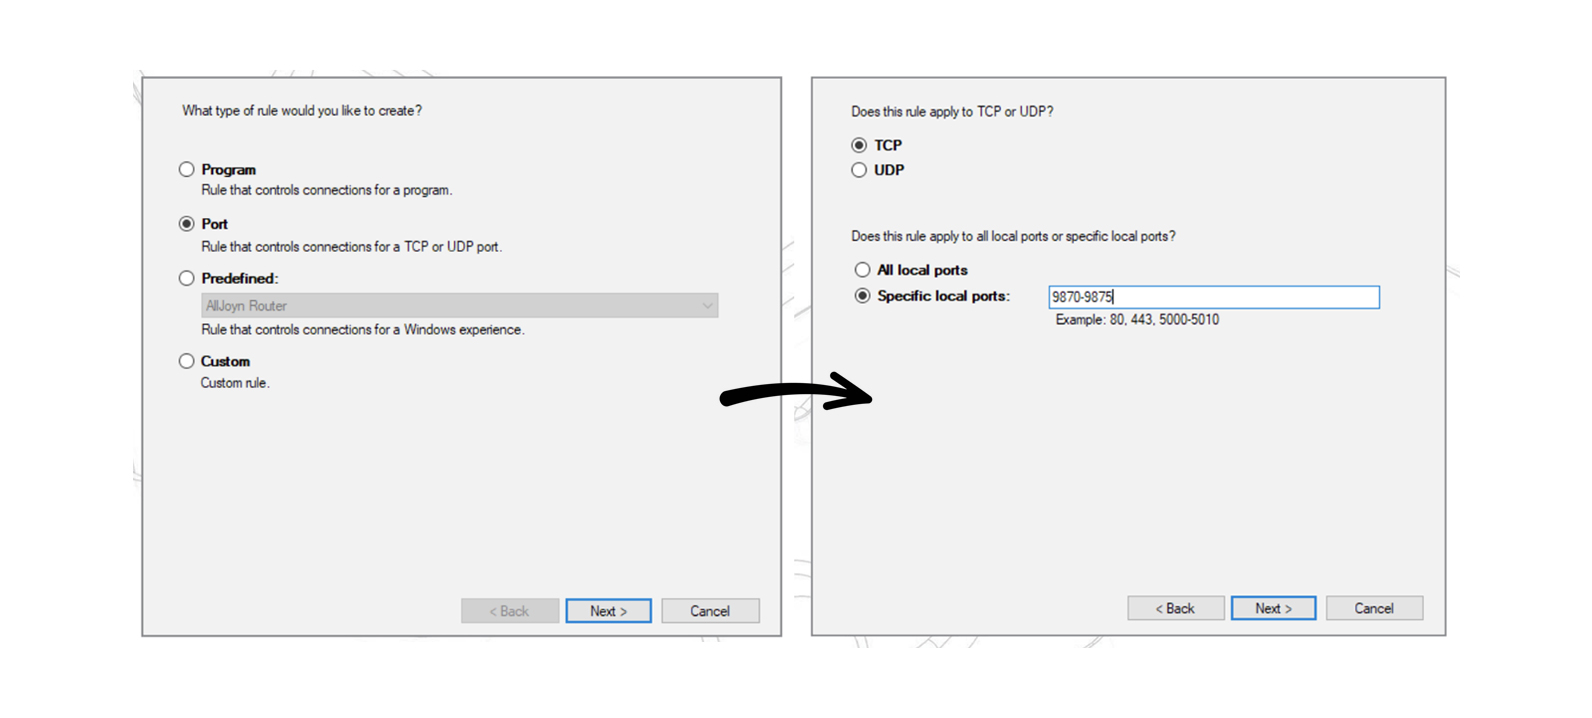
- Step 9 – In the newly opened window, choose the port, click on Next.
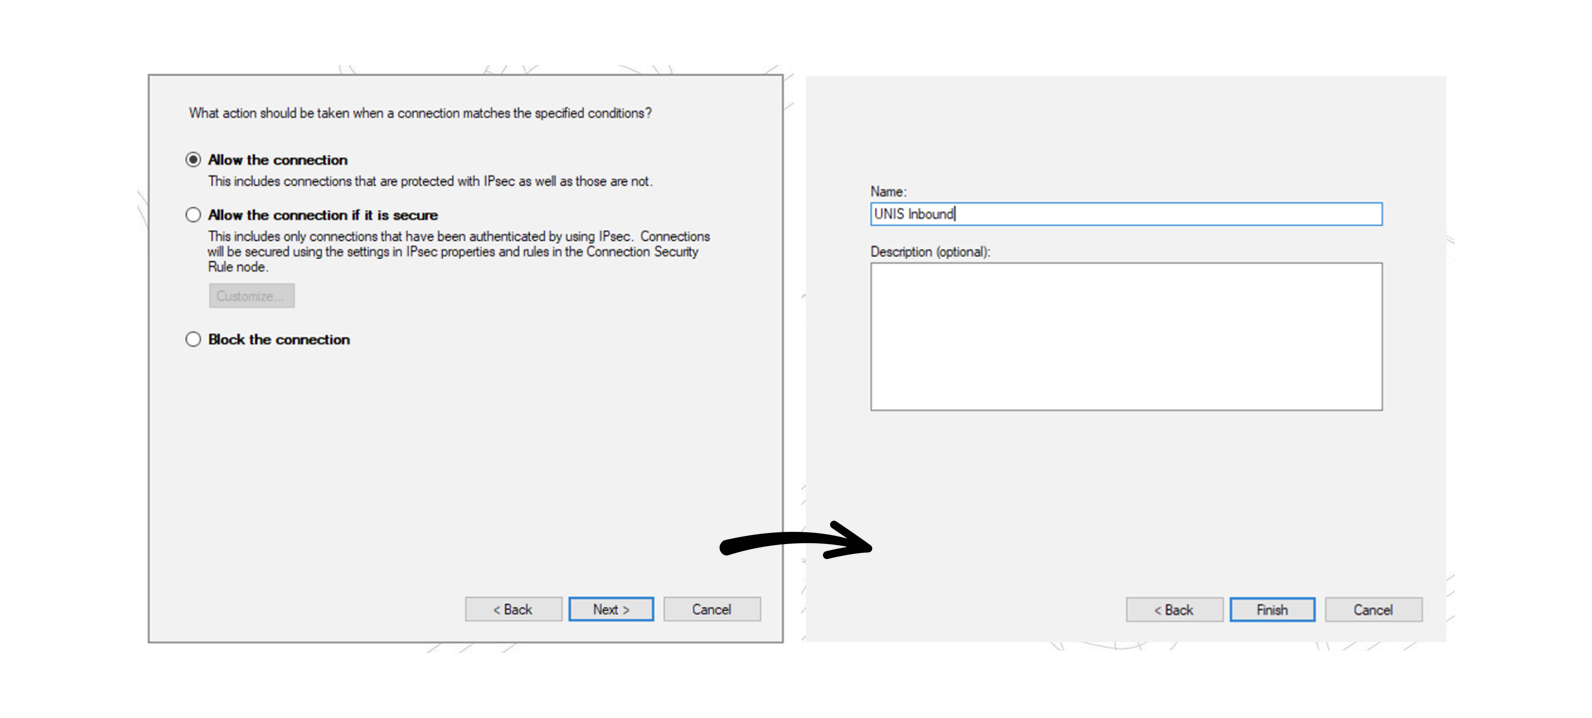
- Step 10 – Select TCP and enter 9870-9875 in the Specific local points field. In the next window, click on allow the connection, enter UNIS Inbound in the Name field and click on the Finish button.
- Step 11 – Repeat the steps above for creating an outbound rule for selected ports.
- Step 12 – The process is complete, now you can add and manage Virdi devices successfully from the Paxton Net2 software.
Conclusion
Summing up, now you can easily use and manage Virdi biometric and fingerprint terminals from the Paxton Net2 software. Make sure to follow all the steps properly.
Thanks for reading, we hope you enjoyed the guide. If you have any questions regarding the integration process, please feel free to contact us.
Do you need help with your Access Control or Biometrics projects?
Let experts at Stebilex help you today.